
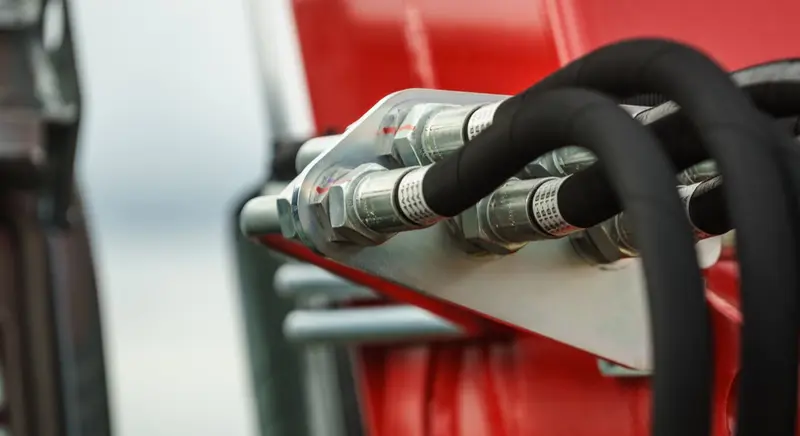
Once a worn hose is removed, the best evidence of how it sat in the machine can disappear with it. Before the route changes, preserve the installed path, the worn spot, the nearby surface, and the support or protection around it. That record gives a qualified person something better than a loose hose and a close-up.
This is not a guide to rerouting or replacing the assembly. It is a focused way to document abrasion without touching a leak, cycling the machine for a better view, or guessing at the cause.
Put a safety boundary around the record
Turning off the engine does not prove that hydraulic energy has been controlled. For work covered by OSHA’s general-industry rule, potentially hazardous stored or residual energy must be rendered safe before servicing begins. The rule also limits lockout and tagout work to authorized employees. Follow the machine manual and the employer’s energy-control procedure that applies to the equipment and task. OSHA explains those requirements in 29 CFR 1910.147.
A hydraulic hose route may pass below a raised attachment, behind a guard, through a pinch point, or beside parts that can move after shutdown. A useful photograph is never worth entering that space without the required isolation, blocking, and verification. Leave guards and panels in place unless a qualified, authorized person removes them under the approved procedure.
Pressurized hydraulic fluid can break the skin, and any suspected injection injury needs immediate professional medical treatment. The Health and Safety Executive’s hydraulic injection alert describes the risk during inspection and maintenance of leaking equipment. HSE lists bare-hand leak searches and makeshift repairs as operator errors in its high-pressure fluid guidance. Do not loosen a fitting, shift a sleeve, or restart the machine to expose a suspected rub point.
If the machine cannot be placed in a verified safe state, stop at records already available from a safe position. The broader hydraulic hose warning-sign guide explains when visible damage should take equipment out of service.
The worn spot is only the starting point
From an already safe observation point, begin with the worn cover and the nearest surface. Photograph both in the same frame, then take close views without touching either one. If another hose or piece of hardware is visibly aligned with the worn area, include it in the record.
Those details identify a contact area. They do not prove why contact happened.
The hose may have touched a bracket, frame, guard, attachment, clamp, or another hose. Its position may also have been influenced by length, fitting orientation, support, pressure changes, or machine movement. Treat each possibility as a question for the qualified person, not as the caption under the first photograph.
A tight picture of damaged rubber without the surrounding hardware loses the relationship that matters.
Follow the route from one named end to the other
After the machine has been made safe under the applicable procedure, give every image a direction. Pick one connection as the starting point and name it by function or component, such as “valve end” or “cylinder end.” Trace the installed hose toward the other connection without moving it.
Once the machine has been made safe under the applicable procedure, photographs of the full hose path, clamp positions, rub points, and bends can preserve routing information for the qualified technician. Use a short sequence:
- Show the machine area and the complete visible hose path.
- Capture the first connection, fitting orientation, and nearby adapter.
- Follow the hose through each support, sleeve, guard, or pass-through.
- Frame the worn cover and the suspected contact surface together.
- Photograph the second connection and its orientation.
- Add close views of the layline, damaged protection, and any matching mark on nearby hardware.
Keep the photo order intact. If the route disappears behind a fixed guard, label that gap rather than reaching through it. A simple annotated copy of the wide photo can mark the two ends, rub point, and hidden section without pretending to show what cannot be seen safely.
The complete mobile-service information checklist covers machine identity, fittings, fluid, location, access, and approvals. Keep this abrasion record narrower. Its job is to preserve route context.
Supports and bends belong in the same story
Gates advises routing hose to avoid rubbing and abrasion and using correctly sized clamps when they are needed to support long runs or keep hose away from moving parts. Its Safe Hydraulics Pocket Guide also notes that an oversized clamp can allow movement and wear.
Capture the support as it sits. Show the clamp body, mounting point, nearby hose, and the section on each side. Record whether a sleeve or guard is centered on the contact area, displaced, cut, missing, or trapped under hardware. Do not touch or reposition a displaced sleeve. Preserve its original position only in photographs taken from an already safe observation point; repositioning or removal belongs to a qualified person following the applicable procedure.
Gates also advises keeping hose bend radius as large as possible and checking the hose specification for its minimum bend radius. A photograph cannot measure the internal condition of the assembly or establish the correct minimum for an unidentified hose. It can preserve the visible shape, where the bend begins, and how close that bend sits to a fitting or support.
On Cat equipment, Caterpillar warns that incorrect hose length can force improper bending or routing, and that incorrect routing or bend radius can contribute to heat damage and cracking. Caterpillar’s hose-assembly inspection guidance sends owners back to the machine’s Operation and Maintenance Manual for model-specific safety procedures.
That distinction matters. The existing path is evidence of how the hose was installed. It is not proof that the path, length, clamp position, bend, or protection was correct.
Record movement without recreating it
Some contact happens only through part of the machine’s range of motion. The safe record is the position at shutdown plus the operator’s factual account. It is not a reenactment.
Note the attachment position when the wear was found, the function being used, and whether the operator had noticed a hose pulling, shifting, or touching nearby hardware. Include any known replacement, adapter, attachment, or routing change. Mark remembered details as operator observations rather than direct measurements.
Do not restart, articulate, raise, lower, or reposition the machine solely to make the rub happen again. Any movement check belongs to qualified personnel following the manufacturer’s procedure and the applicable energy-control steps.
A sequence such as “contact visible,” “contact reported,” and “cause not established” keeps the record honest. It also prevents a remembered sound or motion from turning into an unsupported diagnosis.
Write what the evidence shows
A strong maintenance note separates observation from conclusion. It names the route, points to the photographs, and leaves specification decisions open.
Hypothetical example:
Cover wear visible beside the upper guide. A polished mark appears on the guide at the same location. The protective sleeve sits below the worn area. The machine was not moved for documentation. Cause not assigned. Route photos run from the valve end to the cylinder end.
That note does not say the hose was too long, the clamp failed, or a sleeve will fix the issue. It preserves what was visible and what was not done.
Add the machine or fleet identifier, hose function, date, and prior replacement information when those facts are already available. Save the original images. Cropped copies are useful for discussion, but the wide views carry the route context.
Hand off evidence, not a routing prescription
Photos cannot establish the correct hose construction, working pressure, fluid compatibility, length, fitting clocking, minimum bend radius, clamp, sleeve, or route. They also cannot show hidden reinforcement damage. Those decisions require the machine documentation, hose-manufacturer data, and evaluation by a qualified person.
An abrasion-resistant cover or protective sleeve may be part of an approved correction, but it does not make a damaged assembly serviceable. It also does not explain why contact occurred. Preserve the old sleeve, guard, clamp, and assembly for evaluation when site and environmental procedures allow.
If a supported soft-line hose needs qualified attention, review SIG’s mobile fleet hose service and regional service area, then include the route photographs with your service request.